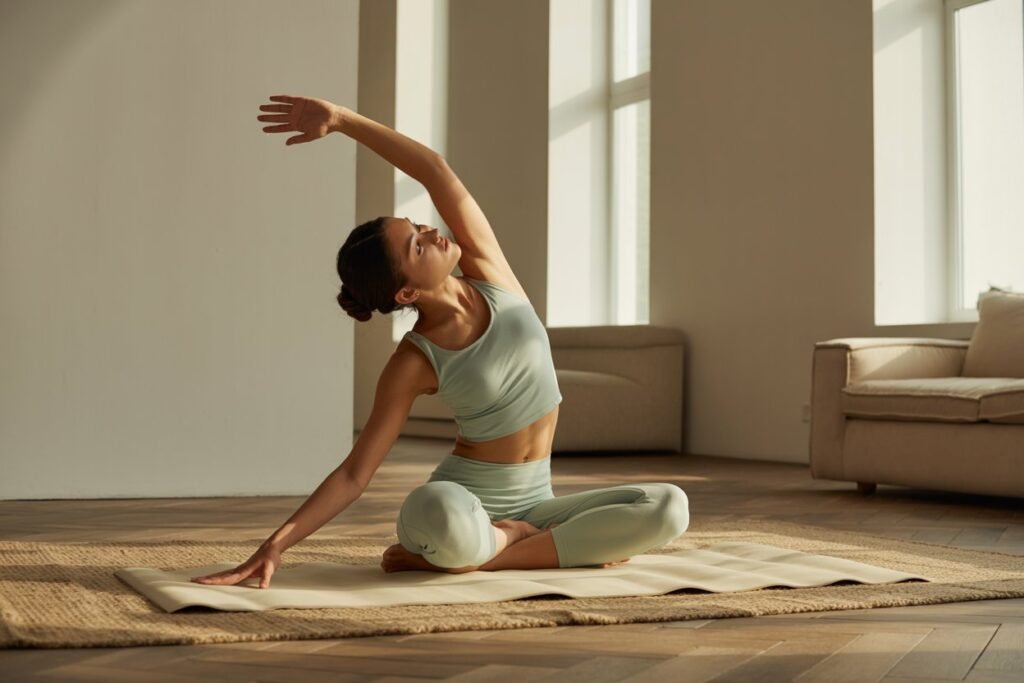
Let’s be real — doing a full split seems like something only dancers, gymnasts, or yoga instructors can do. But here’s the truth: anyone can work toward full splits with the right stretches, patience, and consistency.
If you’ve ever tried to do the splits and ended up halfway there with shaky legs and a tight pull in your hamstrings, you’re not alone. I’ve been there — thinking my body just “wasn’t made for that.” But the thing about flexibility is, it’s not about being naturally bendy; it’s about progressively opening up your muscles and joints over time.
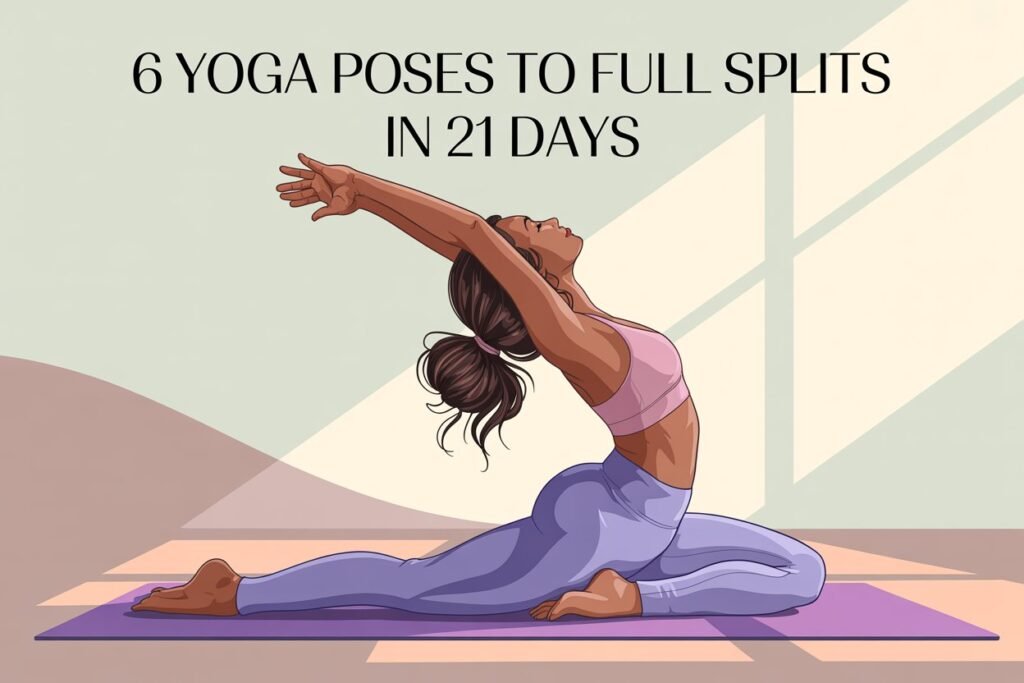
That’s what this 21-day routine is designed to do. It focuses on six essential yoga poses that gradually increase flexibility in your hips, hamstrings, and thighs — the three key areas that make or break your split.
The best part? You don’t need to be flexible to start. You just need 10–15 minutes a day and a bit of commitment. And to make things easier, I’ve included my favorite beginner-friendly yoga tools (all available on Amazon) to help you stretch safely and comfortably.
Why Flexibility Training Matters

Flexibility training isn’t just about touching your toes or getting into a split. It’s about improving your mobility, posture, and muscle balance. When your hips and hamstrings are tight, it affects how you walk, sit, and even your lower back comfort.
Practicing these poses regularly:
- Improves circulation and muscle recovery
- Reduces the risk of injury during workouts
- Relieves tension in the hips and back
- Helps you move with confidence and ease
Think of it as a form of self-care that connects your mind and body.
What You’ll Need to Get Started
You don’t need much to start your splits journey — just a bit of space and a few helpful tools.
Suggested Gear (all easily found on Amazon):
- Yoga Mat – For comfort and support during stretches
- Yoga Block – To modify poses and avoid straining
- Yoga Strap – Helps with deeper stretches safely
- Foldable Blanket or Towel – For hip support during pigeon pose
Once you’ve got your setup, you’re ready to begin your daily routine.
Pose 1: Half Moon Pose (Ardha Chandrasana)
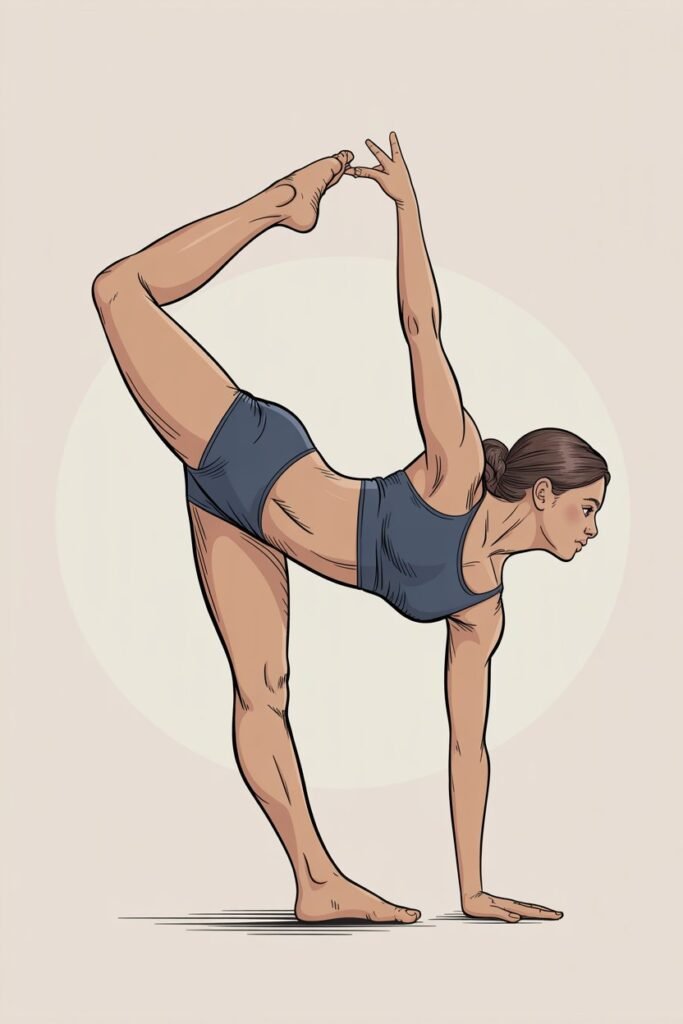
Focus: Opens the hips and strengthens the legs.
Half Moon Pose is all about balance and coordination. It builds stability in your standing leg while opening your outer hips — a crucial first step in building flexibility for the splits.
How to Do It:
- Start in Warrior II position.
- Shift your weight onto your front foot and lift your back leg behind you.
- Your body should form a “T” shape.
- Place your hand on the floor or a yoga block directly under your shoulder.
- Extend your other arm straight up toward the sky and look forward or up.
Hold: 20–30 seconds per side.
Beginner Tip: Use a block to help with balance. Keep your standing knee soft to avoid overextending.
Recommended Gear:
- Gaiam Yoga Block – Lightweight, supportive, and perfect for beginners.
Pose 2: Seated Butterfly (Baddha Konasana)
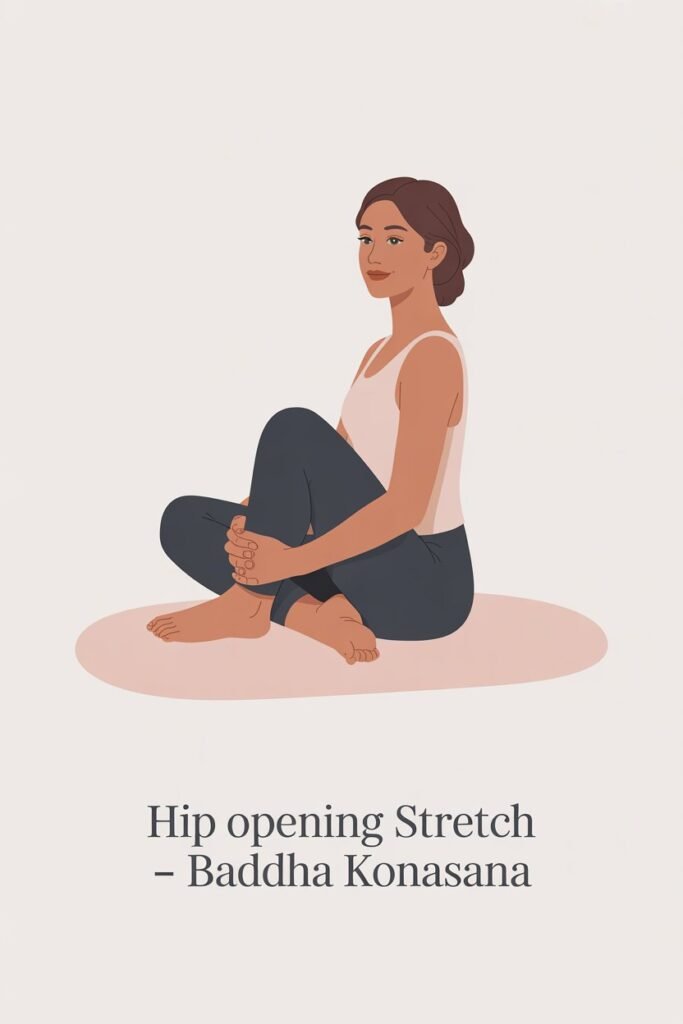
Focus: Opens inner thighs and hips.
This stretch is your go-to pose for loosening tight hip joints. It’s simple, relaxing, and perfect to start or end your stretching routine.
How to Do It:
- Sit on the floor with your feet together and knees bent outward.
- Hold your feet with your hands.
- Gently press your knees down using your elbows or let gravity do it for you.
- Keep your back straight and chest open.
Hold: 45–60 seconds.
Beginner Tip: Sit on a folded blanket if your hips are tight or your back rounds.
Recommended Gear:
- Manduka PRO Yoga Mat – Durable, thick, and excellent for floor support.
Pose 3: Reclined Big Toe Pose (Supta Padangusthasana)
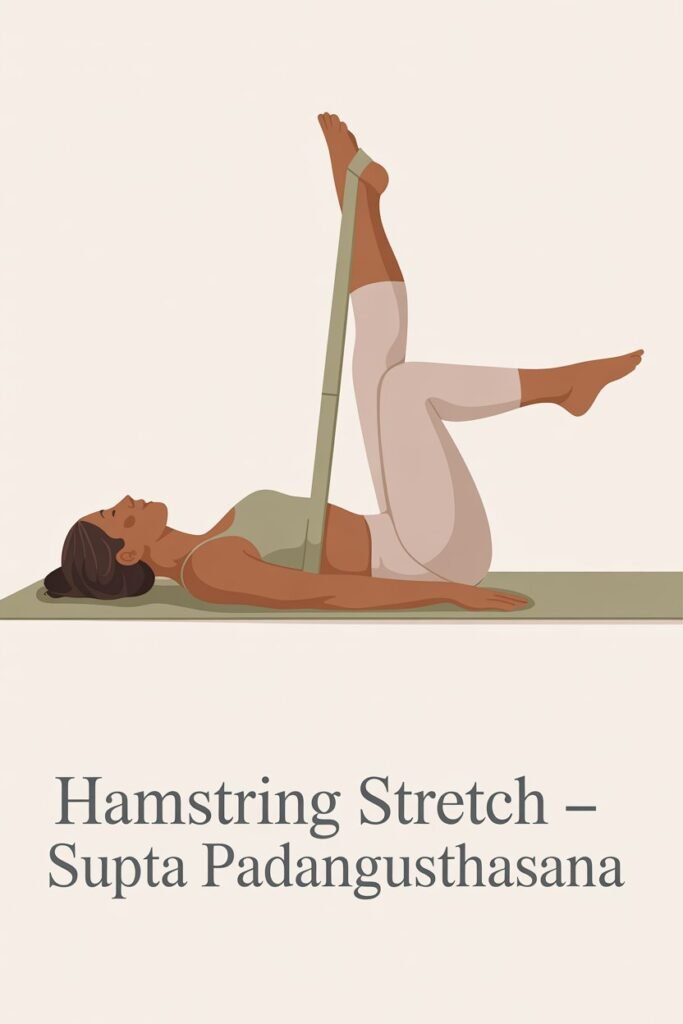
Focus: Deep hamstring and calf stretch.
This pose isolates your hamstrings — one of the biggest obstacles when trying to get into a split.
How to Do It:
- Lie flat on your back.
- Raise one leg toward the ceiling and keep the other on the mat.
- Loop a yoga strap or towel around the raised foot.
- Gently pull your leg closer toward your torso while keeping your hips grounded.
Hold: 30–45 seconds per leg.
Beginner Tip: Keep your lower back flat on the mat — avoid arching.
Recommended Gear:
- Tumaz Stretch Strap – Adjustable loops make it easy to control your stretch.
Pose 4: Downward-Facing Dog (Adho Mukha Svanasana)
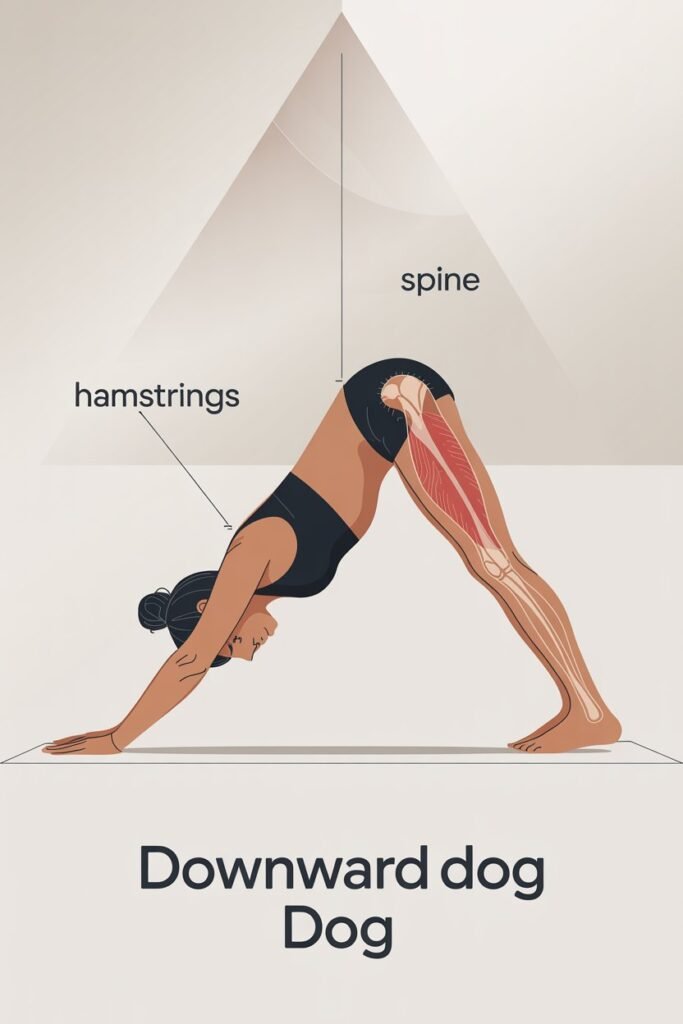
Focus: Stretches hamstrings, calves, and spine.
Downward Dog is a full-body stretch that strengthens your arms and elongates your back — helping prepare your legs for deeper movements.
How to Do It:
- Start on your hands and knees.
- Lift your hips up and back, straightening your legs to form an upside-down “V.”
- Spread your fingers wide and press through your palms.
- Keep your head between your arms and relax your neck.
Hold: 45–60 seconds.
Beginner Tip: Bend your knees slightly if your hamstrings feel too tight at first.
Recommended Gear:
- Liforme Grip Yoga Mat – Non-slip surface helps maintain posture safely.
Pose 5: One-Leg Folded Forward Bend (Janu Sirsasana)
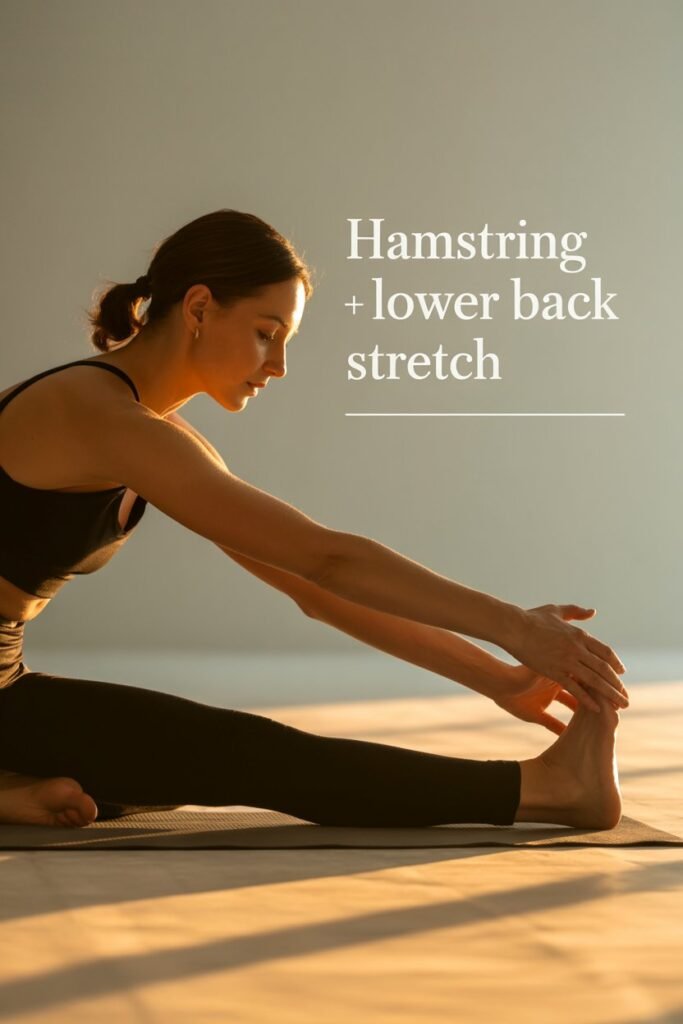
Focus: Targets hamstrings and lower back.
This seated pose teaches your body to fold forward with control, making it easier to slide into your splits later.
How to Do It:
- Sit with one leg extended and the other bent so your foot touches the inner thigh.
- Reach your arms toward your extended foot.
- Keep your back straight as you lean forward from the hips.
Hold: 45 seconds per side.
Beginner Tip: If you can’t reach your toes, wrap a strap around your foot and gently pull yourself forward.
Recommended Gear:
- Yoga Design Lab Strap – Soft and adjustable, great for beginner stretches.
Pose 6: Half Pigeon (Eka Pada Rajakapotasana)
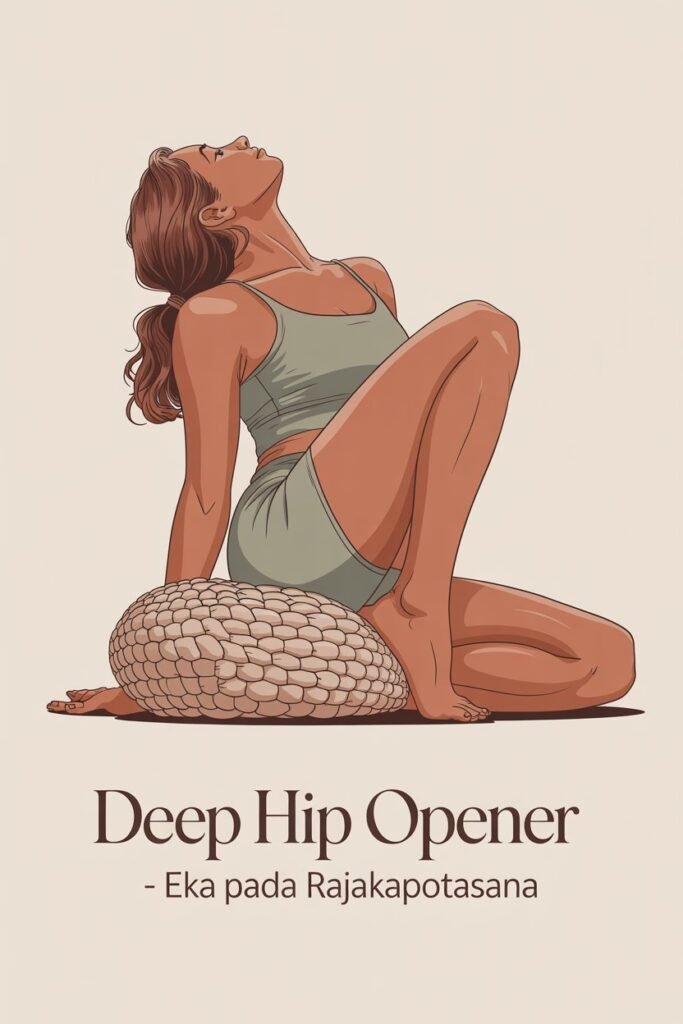
Focus: Deep hip opener and glute stretch.
Half Pigeon Pose is the star of this routine — it works deep into your hips and glutes, helping you increase your range of motion safely.
How to Do It:
- From Downward Dog, bring one knee forward and place it behind your hands.
- Extend your other leg back behind you.
- Keep your hips square and slowly lower your chest toward the floor.
- Rest on your forearms or stretch your arms forward.
Hold: 1 minute per side.
Beginner Tip: Use a folded blanket or yoga block under your hip for support.
Recommended Gear:
- Gaiam Foldable Yoga Blanket – Provides soft, stable support for deeper hip stretches.
21-Day Splits Schedule
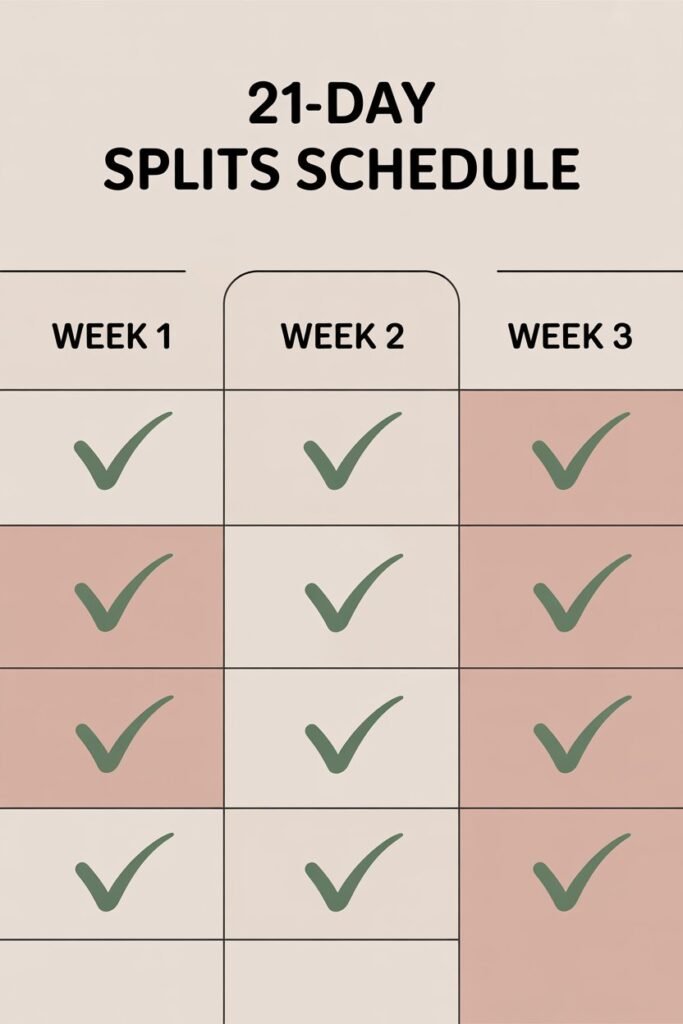
Here’s how to structure your 3-week routine:
Week 1 – Getting Started:
Focus on form and gentle stretching. Hold each pose for shorter durations (20–30 seconds).
Week 2 – Building Flexibility:
Start holding poses for 45–60 seconds. Add gentle pulses or deeper stretches as your body allows.
Week 3 – Deepening and Balancing:
Combine all six poses in one flow sequence. Warm up for 5 minutes first, then transition smoothly between poses.
Bonus Tip: Always stretch after a warm shower or light workout when your muscles are warm and pliable.
Safety & Recovery Tips
- Never push yourself into pain — stretching should feel slightly uncomfortable, not sharp.
- Warm up before every session to prevent muscle strain.
- Stay consistent but rest at least one day a week.
- Hydrate before and after your stretches — flexibility improves when muscles are nourished.
- Use breathing to deepen your stretches — inhale for length, exhale for release.
Final Tip: Progress Over Perfection
Achieving full splits isn’t just a physical goal — it’s a mindset shift. It’s about learning patience, persistence, and celebrating the small wins along the way. You might not hit a perfect 180-degree split in 21 days, but you will notice more openness in your hips, better posture, and less tension overall.
Your flexibility journey doesn’t end with a single pose — it becomes part of your lifestyle. Keep practicing, stay kind to your body, and remember that progress, no matter how slow, is still progress.