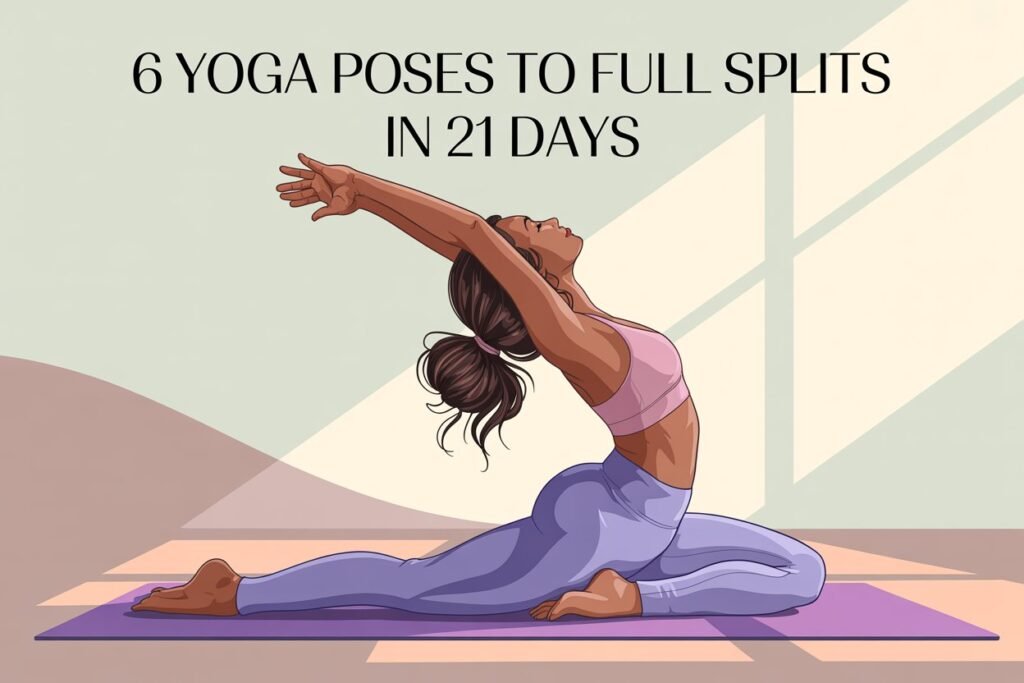
Let’s be honest — doing the splits looks impossible until you actually start trying. Maybe you’ve seen dancers drop into a full split like it’s nothing, while you’re still halfway down wondering if your legs are about to give out.
But here’s the secret: you don’t need to be flexible to start — you just need the right stretches and a smart routine.
I used to think my body just “wasn’t made” for splits. But once I started doing targeted flexibility training (for just 10 minutes a day!), everything changed. It’s not magic — it’s muscle conditioning. If you stay consistent, you can seriously get closer to the floor in just a few weeks.
And because I know it’s hard to know where to start, I’m breaking down the best 10-minute split routine — along with gear I personally recommend (and yes, you can find everything easily on Amazon — I’ll link them below for you).
Why 10 Minutes Is Enough
You don’t need an hour of yoga to make progress — short, consistent sessions can open your muscles safely and effectively.
The trick is doing the right combination of stretches that target your:
- Hip flexors (front of your thighs)
- Hamstrings (back of your thighs)
- Glutes (your booty and outer hips)
- Inner thighs (adductors)
Each area needs to lengthen evenly for your body to slide into a comfortable split.
Quick Warm-Up (2 Minutes)
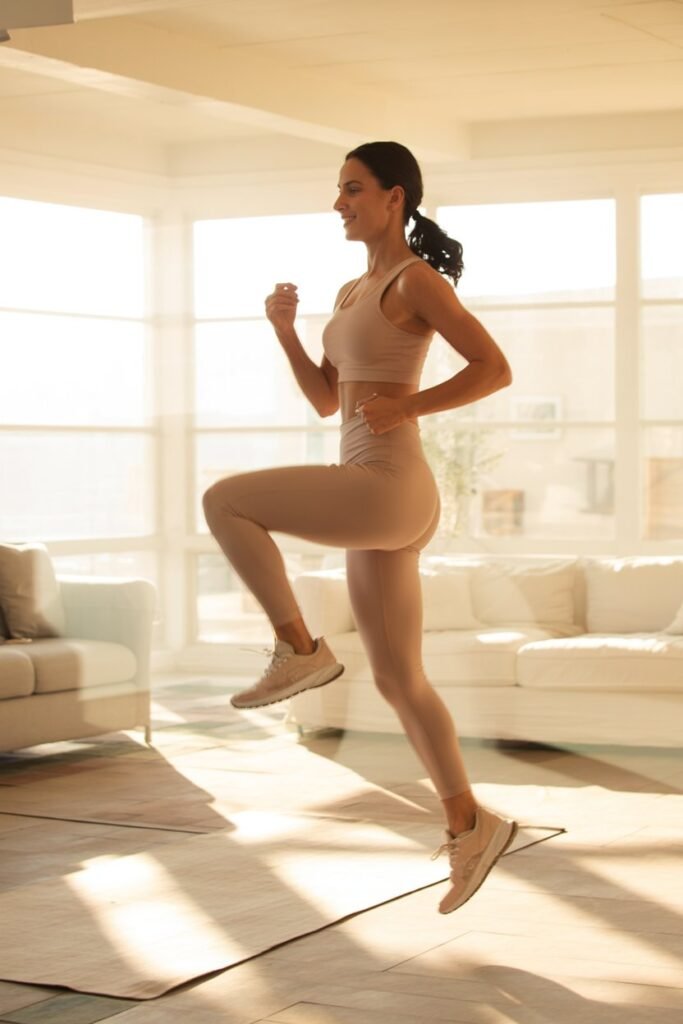
Before we stretch, we’ve got to wake up those muscles.
- 30 seconds – Jumping jacks: Get your heart rate up.
- 30 seconds – Leg swings: Forward/back and side-to-side.
- 30 seconds – Lunges with a twist: Opens the hips fast.
- 30 seconds – Hip circles: Gentle movement to loosen tension.
Warm muscles stretch better — and reduce your risk of pulling something.
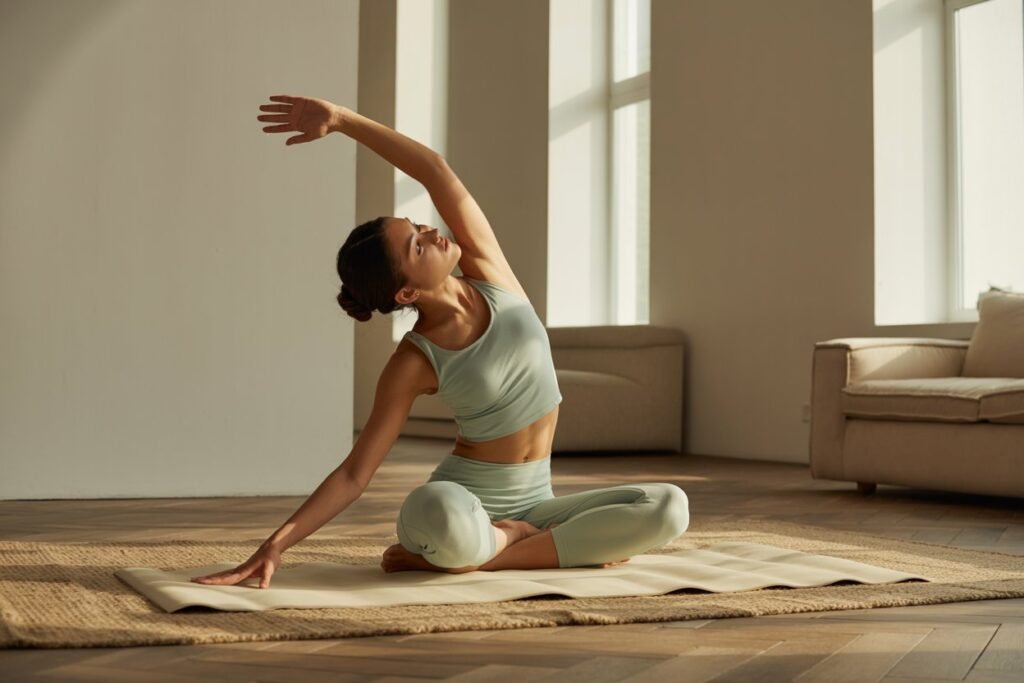
The 10-Minute Splits Routine
1. Low Lunge (Anjaneyasana) – 1 minute each side
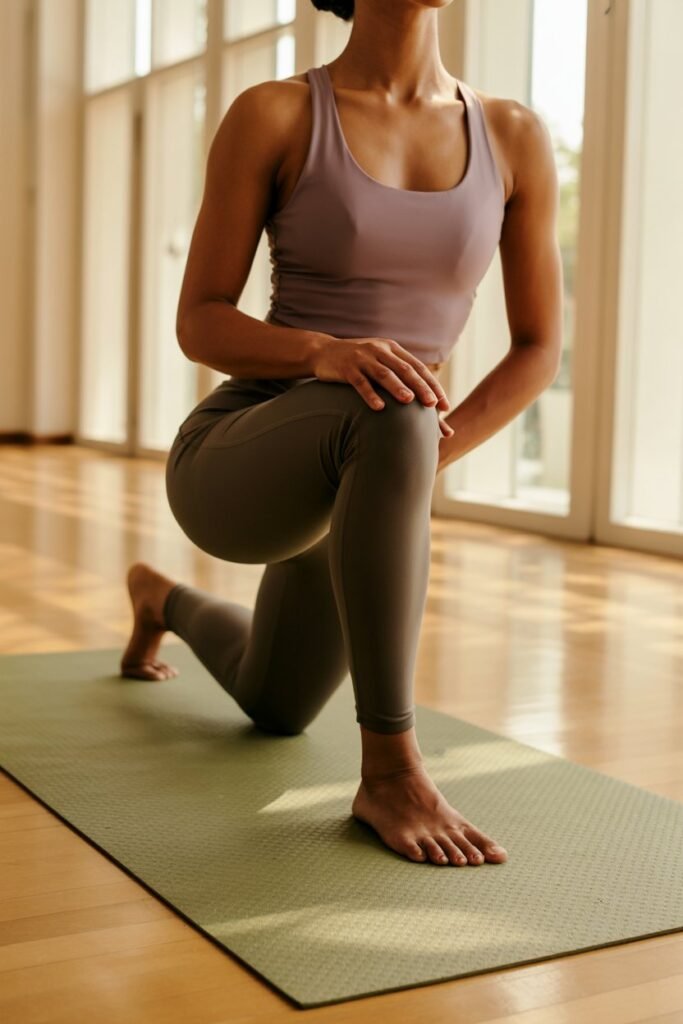
Focus: Opens hip flexors and thighs.
How to: Step one foot forward into a deep lunge, drop your back knee, and press your hips down toward the floor.
💡 Tip: Keep your front knee above your ankle for stability.
Recommended Gear:
- Gaiam Yoga Mat — cushioned support for knees.
- Yoga Block — helps maintain balance if your hands don’t reach the floor.
2. Seated Forward Fold (Paschimottanasana) – 1 minute
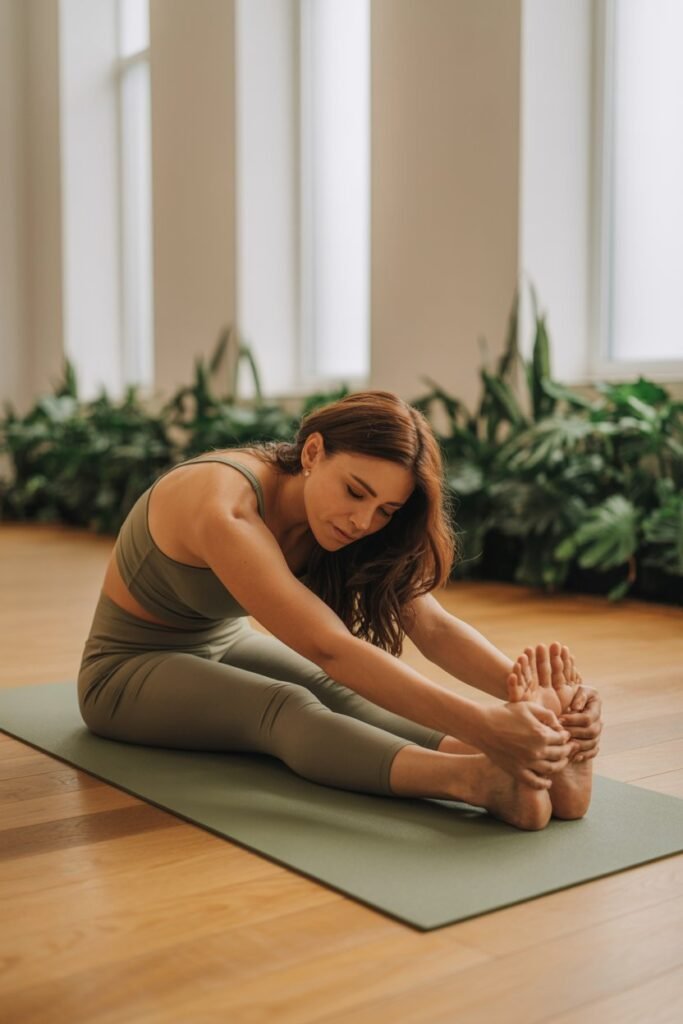
Focus: Hamstrings and lower back.
How to: Sit with both legs extended, flex your feet, and reach forward. Keep your back long.
💡 Tip: Don’t force it — reach only as far as you can without rounding.
Recommended Gear:
- Tumaz Yoga Strap — helps deepen your stretch safely.
3. Butterfly Stretch (Baddha Konasana) – 1 minute
Focus: Inner thighs and hips.
How to: Sit with the soles of your feet together and let your knees fall out to the sides.
💡 Tip: Sit on a folded blanket if your back rounds.
Recommended Gear:
- Manduka PRO Mat — sturdy and supportive for sitting poses.
4. Half Pigeon Pose (Eka Pada Rajakapotasana) – 1 minute each side
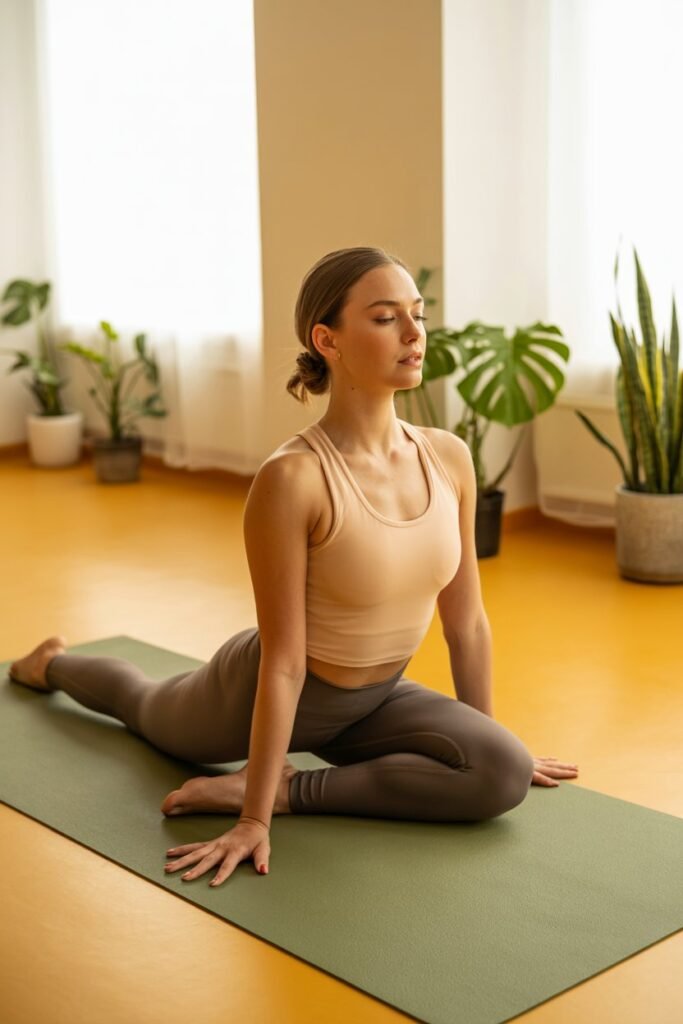
Focus: Deep hip opener and glute stretch.
How to: Bring one knee forward, extend the other leg behind, and fold forward.
💡 Tip: Use a block or blanket under your hip for comfort.
Recommended Gear:
- Gaiam Foldable Blanket — provides soft hip support.
5. Frog Stretch (Mandukasana) – 1 minute
Focus: Inner thighs and groin.
How to: Start on hands and knees, slowly slide your knees apart until you feel a deep stretch.
💡 Tip: Stop before it feels painful — small progress counts.
Recommended Gear:
- Liforme Grip Mat — non-slip for better stability.
6. Full Split Attempt (Hanumanasana) – 2 minutes total (1 min each side)
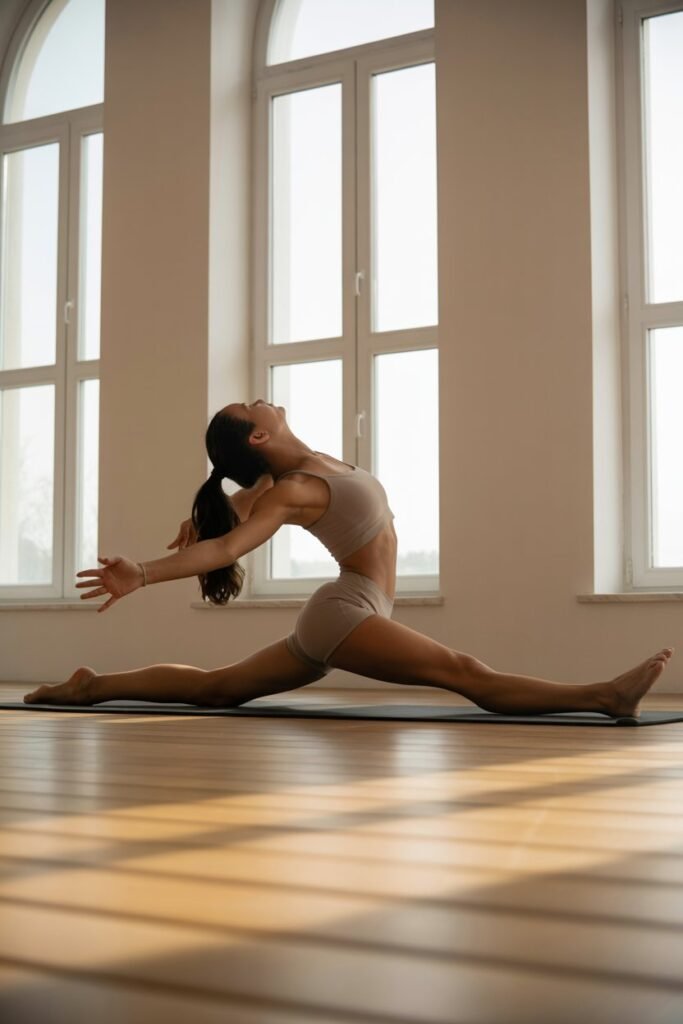
Focus: Flexibility test and control.
How to: From low lunge, slide your front heel forward and your back knee backward. Stop where you feel resistance and breathe.
💡 Tip: Keep your chest lifted and shoulders relaxed.
Recommended Gear:
- BalanceFrom GoYoga Blocks — helps support your hands as you lower into position.
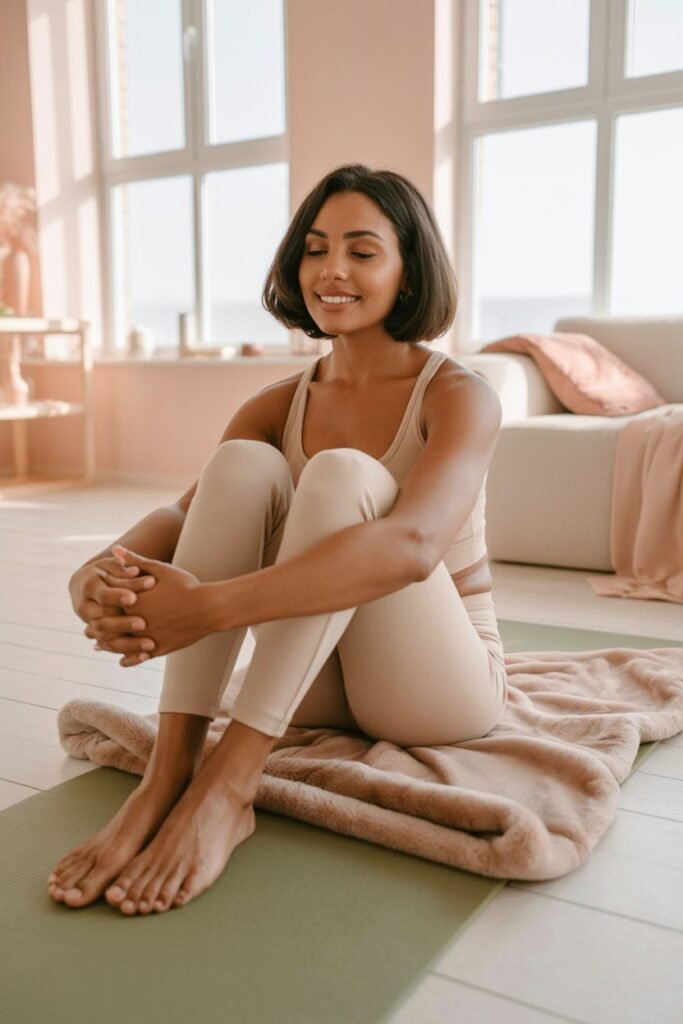
After-Stretch Recovery (1 Minute)
Finish with gentle leg shakes, quad stretches, and a few deep breaths.
If you want to boost recovery, apply a muscle relief balm or roll out your legs with a foam roller — your body will thank you.
Recommended Recovery Tools:
- Tiger Balm Active Muscle Rub – soothing post-stretch relief.
- Amazon Basics Foam Roller – helps release tight muscles.
Final Thoughts: Flexibility Is a Journey, Not a Race
Doing the splits isn’t just a flexibility challenge — it’s a lesson in patience and consistency.
You won’t drop into the floor on Day 1 (and that’s okay!). What matters is showing up every day, breathing through each stretch, and celebrating progress — even if it’s just one inch lower than yesterday.
Remember: the 10-minute splits routine works best when done daily and after a light warm-up.
Be kind to your body, stay consistent, and you’ll be surprised how fast it rewards you.